As an Amazon Associate, we earn from qualifying purchases. Some links on this site are affiliate links at no extra cost to you. Our recommendations are based on thorough research and editorial judgment.

Varnishing 101: Gloss, Satin, and Matte Finishes
When we varnish wood, choosing between gloss, satin, and matte finishes matters a lot. Gloss finishes are shiny, making colors vibrant but might highlight imperfections. Satin offers a soft sheen that’s great for mixed media; it balances enhancement and flaw hiding. Matte finishes are flat, perfect for hiding surface issues and work well in bright light. Each finish serves specific purposes and environments, so let’s explore how to pick the right one for your project.
Key Takeaways
- Gloss finishes provide high shine, enhancing vibrant colors and details but may attract dust and glare in bright light.
- Satin finishes offer a soft sheen that balances enhancement and subtlety, making them ideal for mixed media and landscapes.
- Matte finishes present a flat surface that conceals imperfections and provides a realistic aesthetic, perfect for bright lighting conditions.
- Proper surface preparation and application techniques, like thin coats and appropriate brushes, are essential for a professional finish.
- Choosing the right varnish depends on the wood type and desired appearance, with gloss, satin, and matte offering different benefits.
Learn About Gloss, Satin, and Matte Finishes
You may be interested


When you’re finishing your artwork, figuring out whether to go with gloss, satin, or matte can feel overwhelming. But knowing the differences can really help you achieve the look you want. Gloss finishes are all about vibrancy, bringing colors to life with a high shine and that eye-catching “wet look.” They make details pop, but keep in mind they can also attract dust and create glare.
On the flip side, satin finishes strike a nice balance. They give a soft sheen that enhances colors without being too flashy. They’re a great choice for mixed media pieces or landscapes where you want just the right amount of shine without going overboard.
And then there are matte finishes. These create a flat, soft surface that’s perfect for hiding imperfections while slightly muting colors. If you’re going for a realistic look, especially in bright light, matte can be your best friend.
Satin varnishes also offer UV resistance, helping to protect your artwork from fading and sun damage over time.
Recommended Products

Basic Case is a must-have tool for the most demanding artists and modelers. It has been carefully designed to provide an incredible painting experience, combining a wide range of colors with the unparalleled quality of the Model Color range

Complete Airbrush Paint Set: The Warpaints Air Mega Set is a comprehensive collection of airbrush paints, ideal for both beginners and experienced painters.

Archival; Permanent; Non-Removable; Matte finish
Benefits of Varnish Finishes: Why They Matter

Ever wonder how to keep your wooden furniture and floors looking great for years? Varnish finishes might just be your best bet. They don’t just make your wood look nice; they protect it from environmental damage, too. By sealing wood against moisture, varnishes help prevent rot and warping. This way, you won’t have to worry about your furniture crumbling or your floors bending over time.
On top of that, varnish acts as a barrier against harsh UV rays. So, if sunlight streams through your windows all day, you can breathe easier knowing that your beautiful pieces won’t fade or lose their color.
What’s more, varnishes enhance the wood’s natural grain, giving it a stunning finish, whether you prefer glossy or matte. You get to enjoy that rustic texture while keeping stains and grease away. With varnished surfaces, you’re looking at durability and easier maintenance – just a quick wipe-down is often all it takes.
Truth is, choosing varnish for your wood surfaces is a smart move. It not only keeps things looking beautiful but also means you’re investing in their longevity. Additionally, selecting a varnish with UV protection features ensures your wood’s color stays vibrant for years to come. So, when’s the last time you checked the finish on your furniture? It might be time for a little upgrade!
Recommended Products

【Unlock two profitable applications with the DXZ 3047 Pro】 Seamlessly switch between printing vibrant designs directly onto objects like phone cases and mugs, and creating high-quality, durable custom stickers and transfers. This flexibility allows you to serve a wider range of customer demands, maximizing your return on a single, powerful investment.

【Unlock two profitable applications with the DXZ 3047 Pro】 Seamlessly switch between printing vibrant designs directly onto objects like phone cases and mugs, and creating high-quality, durable custom stickers and transfers. This flexibility allows you to serve a wider range of customer demands, maximizing your return on a single, powerful investment.
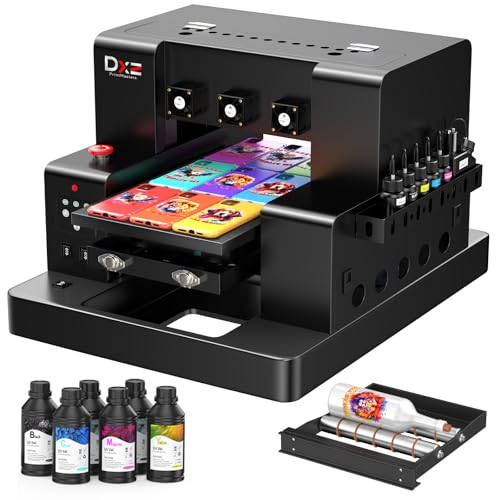
Enhanced UV Printer - The upgraded version of DXZ UV Printer features a white ink mixing system, automatic cleaning function to prevent clogging and protect your printer. It can also print embossed effects, giving your prints a more professional look.
Choosing the Right Varnish: What You Need to Know

How do you choose the right varnish for your woodworking projects? It can be tricky! You want to make sure you evaluate how durable the varnish is and whether it’ll work with the type of wood you’re using.
For those bold artworks, you might find that a gloss finish really brings your colors to life. Just keep in mind, it does tend to highlight any imperfections in the wood. If you’re looking for something more balanced, satin varnish is a solid choice. It softens flaws while giving you a nice, subtle shine. And if you want to go for a completely non-reflective surface, matte varnish is the way to go. It does a great job concealing any surface issues, especially for lighter-toned pieces.
Every finish has its purpose. Dark colors look vibrant with a gloss finish, while satin and matte finishes provide a more natural appearance. Remember this: thin, even coats are key for the best results. Sometimes, mixing varnishes can give you that semi-gloss effect you’re after. Depending on the project, selecting the right varnish can also improve water resistance and protect the wood longer.
Recommended Products
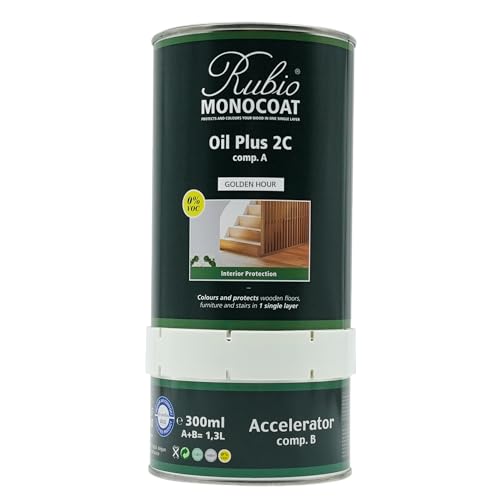
ONE LAYER: Rubio Monocoat's hardwax oil wood stain protects and colors interior wood in one single layer. This way you get durable protection, need less time to treat your wood and can easily maintain your wood in case of repairs or renovations.

Premium Varnish: Our marine varnish is a high-build coating designed for use as a marine epoxy and exterior wood varnish on surfaces like railings, doors or any surface where a clear, durable gloss finish is desired

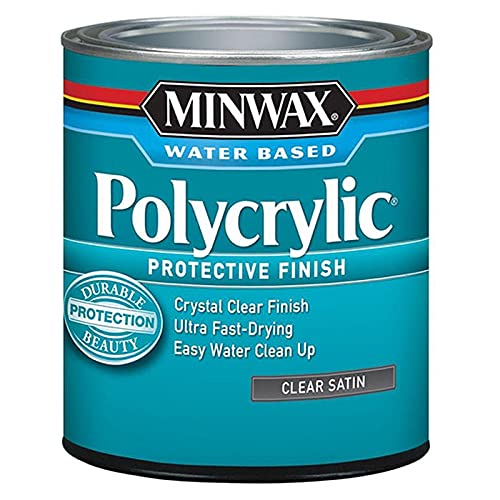
OUTSTANDING DURABILITY: Provides exceptionally strong protection for high-traffic areas like kitchen cabinets. Effectively seals your painted furniture, ensuring it remains beautiful for years.
Common Mistakes to Avoid When Varnishing
Have you ever spent hours varnishing, only to be left with peeling or flaking? It’s frustrating, right? The good news is that avoiding a few common mistakes can really improve your results.
Let’s talk about surface prep first. It’s crucial to clean the area thoroughly before you even think about applying varnish. You want to ensure there’s no dirt or leftover finishes from previous coats—those can cause real headaches down the line. Make sure to take the time to wipe away any grease or oils that could mess things up.
Now, about drying time—don’t rush it! It can be tempting to add another layer before the last one is fully dry, especially if you’re eager to see the end result. But trust me, waiting the full 24 hours, especially in humid conditions, can make all the difference in how the finish holds up.
When it comes to the amount of varnish, less is often more. Instead of slapping on thick coats, aim for thinner layers. This not only helps with adhesion but also gives you a much smoother finish in the end and avoids those unsightly drips.
And here’s the trick: don’t overlook your application tool. A foam brush can make a world of difference by keeping things even and streak-free. You might be amazed at how much better your finished product looks when you apply the varnish the right way. Using a medium with yellowing resistance can also help preserve the vibrancy of your artwork over time.
Recommended Products

Unique blend of foam for great absorption and distribution of paint mediums

Unique blend of foam for great absorption and distribution of paint mediums
Essential Application Techniques for a Flawless Varnish Finish
Achieving a flawless varnish finish can feel tricky, right? It often boils down to the way you prep and apply your materials. Start by getting your surfaces ready with some serious sanding. Begin with 120 to 150 grit sandpaper to knock off any rough spots. After that, finish it up with 180 to 220 grit for a silky smooth finish. Don’t forget to sweep away all that dust and debris! A vacuum or tack cloth will do the trick before you dive into applying the varnish.
So, what tools should you grab? Natural bristle brushes are a solid choice for oil-based varnishes, while synthetic brushes are better for water-based ones. If you want to keep things simple and minimize brush strokes, foam brushes and sponges can really help. When you’re ready to apply, aim for those thin, even coats. The trick is to use long strokes and move quickly to dodge any tackiness.
The best part is that with these simple techniques, you can achieve a finish you’ll be proud to show off. Isn’t it satisfying to see a beautifully varnished project come to life? Just remember, the prep work is just as important as the application itself. Additionally, ensuring your varnish is water-resistant once dry helps protect your finished work from damage and wear.
Recommended Products
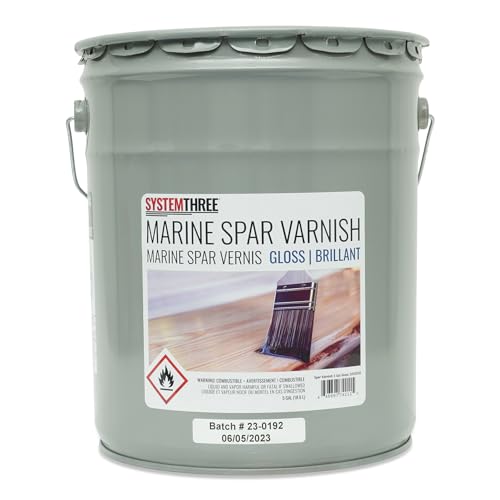
Premium Varnish: Our marine varnish is a high-build coating designed for use as a marine epoxy and exterior varnish for wood on surfaces like railings, doors or any surface where a clear, durable gloss finish is desired

MULTI-PURPOSE HARD FLOOR CLEANER MACHINE: Sand, refinish, strip, scrub, wax and polish, as well as deep clean your carpets with the Oreck Orbiter All-In-One Hard Floor Cleaner Machine, effective on all flooring types.

JOHN HOWARD SANDEN is an award-winning portrait artist and educator. He founded The Portrait Institute in 1974 and established the National Portrait Seminar, which became the largest art seminar in America. In 1994, he received the first John Singer Sargent Medal for Lifetime Achievement from the American Society of Portrait Artists. He was honored with the Gold Medal award from the Portrait Society of America in 2010.
Frequently Asked Questions
Can I Mix Different Varnish Finishes Together?
We can’t mix different varnish finishes together without risking varnish longevity issues. Sticking to compatible mixing techniques guarantees a consistent finish and avoids problems like cloudiness or uneven patches on our projects.
How Can I Remove Varnish From a Painting?
To remove varnish, we’ll use specific varnish removal techniques, ensuring we apply solvents carefully. Our painting preservation methods involve gentle cleaning and attention to detail, so we can maintain the artwork’s integrity while safely removing varnish.
Does Varnish Affect Paint Drying Time?
Think of varnish like a cloak for paint. It won’t alter drying time if we wait properly; however, rushing to apply it can trap moisture, complicating varnish chemistry and our artwork’s final appearance.
Can I Apply Varnish Over Oil-Based Paint?
Yes, we can apply varnish over oil-based paint, as long as we guarantee oil paint compatibility. When varnish layering, we need to wait for proper curing to avoid adhesion issues and enhance the finish’s durability.
What Tools Are Best for Applying Varnish Smoothly?
Applying varnish smoothly is like icing a cake. Our best tools include a quality brush selection for precision and a spray application for even coverage, ensuring a flawless finish on any surface we tackle together.


